|
ASSIGN POSITION TO POI /
CREATE POI FROM MAP
|
Link a position to an existing POI.
-
Click Assign position to company POI in the drop-down list next to the flag and then on the map or in the drop-down list of the address box.
-
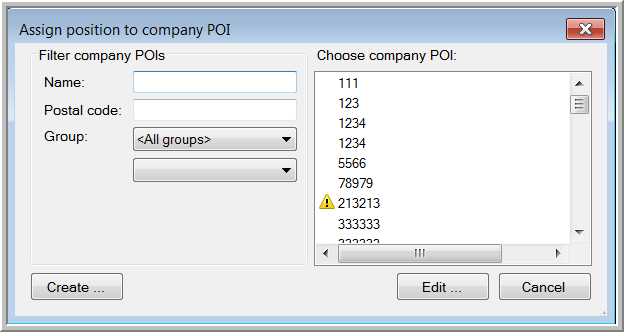
The new window "Assign position to company POI" contains a filter, allowing you to search the POI to which you wish to link the position. POIs without position coordinates are marked with the  icon in the list.
-
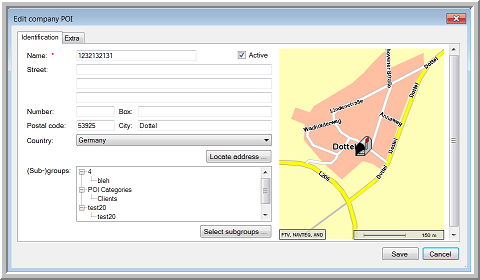
Choose the company POI and click Edit to open the following window:
-
When clicking Save, the address information will change into the chosen point on the map. Click Cancel to undo the modifications and restore the last saved values.
Create a new company POI on the map.
-
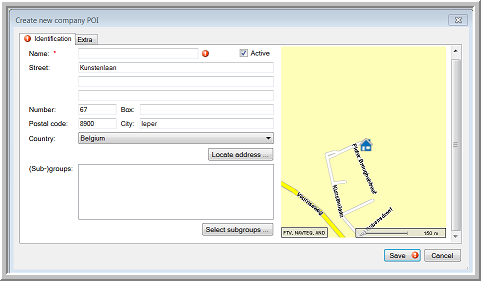
If you cannot find the POI in the window "Assign position to POI", you can always create a new POI by clicking the Create button.
-
Another possibility to create a POI on the map is by clicking the Get address button in the toolbar  and then on the map. An address box appears, where you can click Create Company POI in the drop-down list.
-
You can also create a new POI starting from a vehicle or a trailer.
The "Create new company POI" window opens.
Remark:
Please contact your Transics' project engineer for assistance.
|
MODIFY COMPANY POIs
FROM THE MAP
|
Modify an existing company POI on the map
-
Go to the POI you wish to edit and hold the cursor on the icon until the tooltip appears.
-
Click on the Show details button to open the "Edit company POI" window. Edit the information and click Save to accept the modifications or Cancel to restore the last saved values.
Note:
-
Creating, modifying and managing company POIs is also possible under Settings > Management >Company POIs.
-
Creating, modifying and managing (sub)groups of company POIs and their icons is possible under Settings > Management > Groups.