 Starting from the GeoFencing module
|
GEOFENCING OBJECTS |
|
NEW |
There are two possibilities to create a new GeoFencing object.
Starting from the GeoFencing module
Press the New button at the bottom of the screen.

 Starting from the map
On the map, you can create a new GeoFencing object starting from:
An address
There are two ways to find and display an address on the map:
By clicking the Search address button in the toolbar  .
.
By clicking the Get address button in the toolbar  and then on the map.
Once you have found the address, click the Create new GeoFencing button:

By clicking Create GeoFencing in the drop-down list next to the flag and then on the map.
When using this option, you will have to enter the name of the GeoZone yourself before continuing. However, with the other options, TX-CONNECT automatically uses the address as the name of the GeoZone.
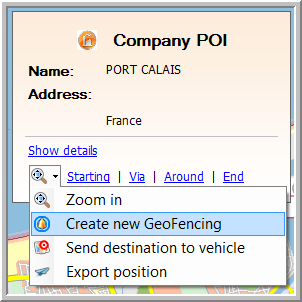
A POI
Search for the POI on the map you want to create a GeoFencing object for and click the Create new GeoFencing button:
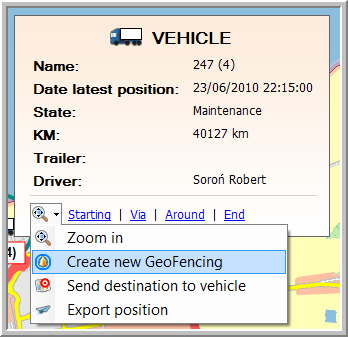
A vehicle
Note that it is impossible to create a GeoFencing object for a rented vehicle.
The "New GeoFencing" window opens.
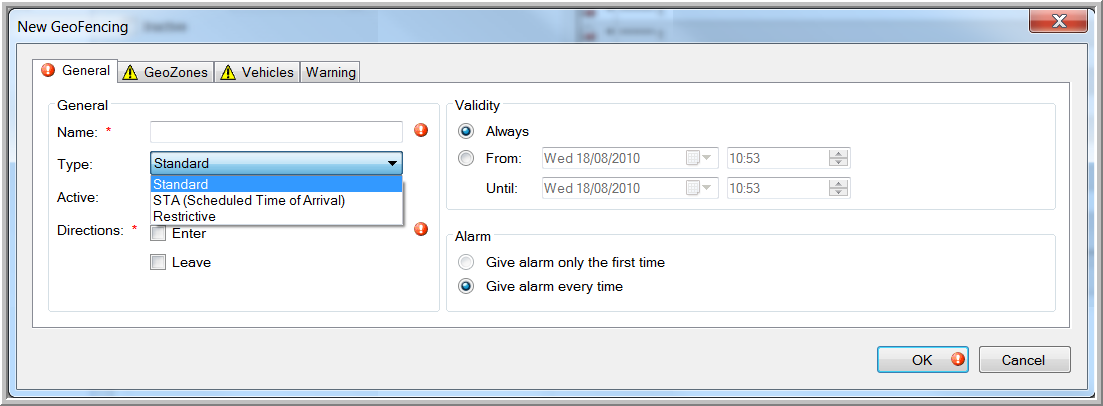
Next, select what type of GeoFencing object you wish to create:
1. Create a new Standard GeoFencing object
Standard GeoFencing means that the driver and / or the home base get a warning when the vehicle enters / leaves a certain area.
2. Create a new Scheduled Time of Arrival GeoFencing object
Scheduled Time of Arrival means that the driver and / or the home base get a warning when the vehicle has not arrived in this area by a certain time.
3. Create a new Restrictive GeoFencing object
Restrictive GeoFencing means that the type of activity selected is not allowed to take more than x minutes in the selected area.